Bathroom Mirror Trim DIY: An Essential Guide
Adding a mirror trim to your bathroom can be a great way to update the look of your space without breaking the bank. With a little bit of planning and effort, you can create a custom mirror trim that perfectly complements your décor.
Here are the essential aspects of bathroom mirror trim DIY:
1. Choose the Right Materials
The first step is to choose the right materials for your mirror trim. There are a variety of materials to choose from, including wood, metal, and plastic. Each material has its own unique advantages and disadvantages.
- Wood is a classic choice for mirror trim. It is durable, easy to work with, and can be stained or painted to match any décor.
- Metal is another popular choice for mirror trim. It is strong, durable, and can be polished to a high shine.
- Plastic is a less expensive option for mirror trim. It is lightweight, easy to install, and comes in a variety of colors and finishes.
2. Determine the Size of the Trim
Once you have chosen the material for your mirror trim, you need to determine the size. The trim should be wide enough to cover the edge of the mirror and extend at least 1 inch beyond the edge of the wall.
To determine the length of the trim, measure the perimeter of the mirror and add 2 inches. This will give you the total length of trim needed.
3. Cut the Trim to Size
Once you have determined the size of the trim, you need to cut it to size. Use a miter saw to cut the trim at a 45-degree angle. This will create a clean, professional-looking finish.
4. Attach the Trim to the Mirror
Once the trim is cut to size, you need to attach it to the mirror. Apply a thin bead of adhesive to the back of the trim and press it into place. Use a level to make sure that the trim is level and secure.
5. Finish the Trim
Once the trim is attached to the mirror, you can finish it to match your décor. If you are using wood trim, you can stain or paint it. If you are using metal trim, you can polish it to a high shine. If you are using plastic trim, you can simply wipe it down with a damp cloth.
Conclusion
Adding a mirror trim to your bathroom is a great way to update the look of your space without breaking the bank. With a little bit of planning and effort, you can create a custom mirror trim that perfectly complements your décor.

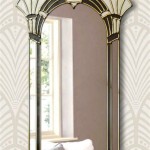
Mirror Frame Diy How To Update A Basic Bathroom Our Faux Farmhouse

Mirror Frame Diy How To Update A Basic Bathroom Our Faux Farmhouse

Diy Stick On Mirror Frame Sawdust Sisters

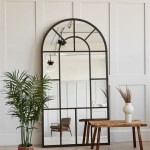
Easy Diy Tutorial Adding Trim Around A Giant Mirror For Ers

Diy Framed Bathroom Mirrors Living With Lady

Diy Bathroom Mirror Frame With Molding The Happier Homemaker

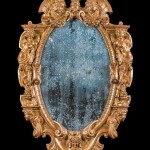
How To Frame A Mirror

Mirror Frame Diy How To Update A Basic Bathroom Our Faux Farmhouse

How To Make An Easy Diy Bathroom Mirror Frame Momhomeguide Com

Diy Bathroom Mirror Frame For Under 10 O Hayley Blog